Creating a wallet is an essential step for anyone looking to interact with cryptocurrencies and NFTs in general. Stables being on the Tezos blockchain, you will need a Tezos-compatible wallet to buy, store and play with our horse NFTs. In this tutorial we help you to create a Temple or Kukai Wallet.
Temple Wallet and Kukai are two popular choice on Tezos due to their user-friendly interface and robust features. Through this blog post we will guide you in the process of creating a Temple or Kukai Wallet on Tezos, allowing you to securely store, send, and receive Stables NFTs.
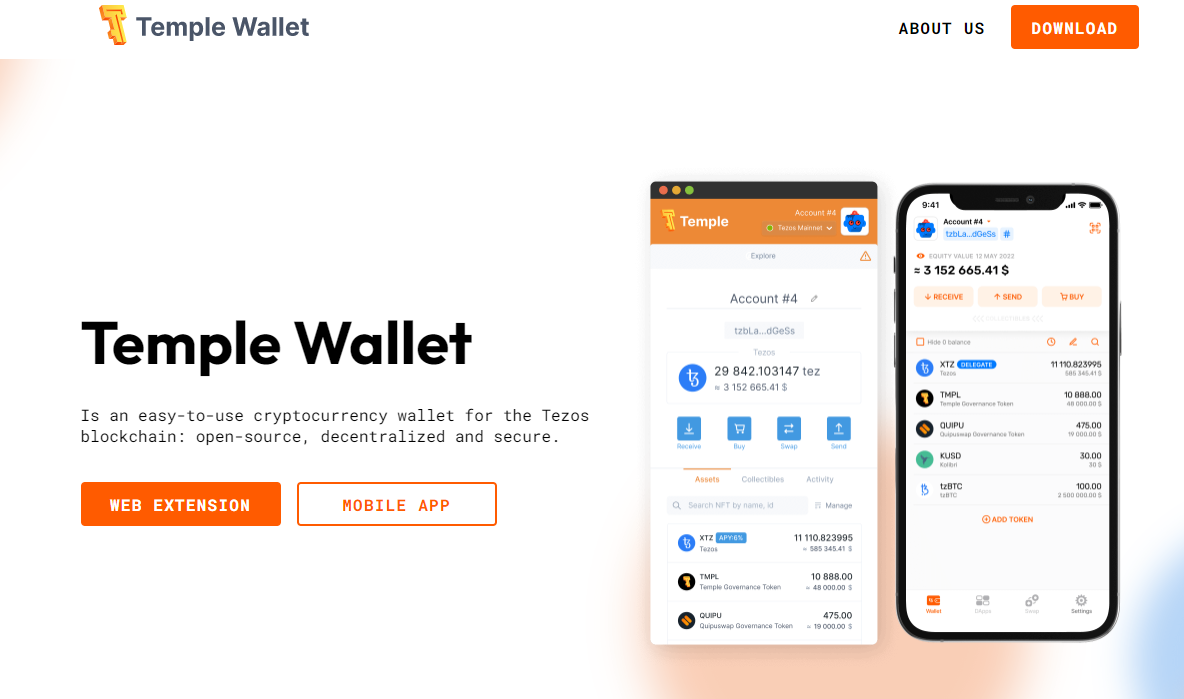
How to create a Temple Wallet?
Step 1: Download and Install Temple Wallet
- Head over to the official Temple Wallet website at https://templewallet.com/ and download the appropriate version for your browser.
- Install and active the extension in your web browser
Step 2: Setting up Your Temple Wallet
- After the installation is complete, launch the Temple Wallet on your browser.
- You will be prompted to create a new wallet or import an existing one. If you don’t already own a wallet, select "Create a new wallet."
- Enter a strong password for your wallet. Make sure to choose a password that is unique and secure.
- Next, you will be presented with your wallet's 24-word mnemonic phrase. This phrase is crucial for recovering your wallet in case of loss or device change. Write down the mnemonic phrase and store it in a secure place offline. No one but you can get your wallet back!
- Once you have saved the mnemonic phrase, confirm it by selecting the words in the correct order as shown on the screen.
Congratulations! Your Temple Wallet has been created successfully.
Step 3: Accessing and Managing Your Wallet
- After setting up your wallet, you will be taken to the main dashboard. Here, you can view your Tezos (XTZ) balance, recent transactions, and other relevant information.
- Explore the various features of Temple Wallet, including sending and receiving XTZ, managing tokens, and accessing decentralized applications (dApps) built on Tezos.
- To receive XTZ, simply provide the sender with your Tezos address, which can be found in the "Receive" section of the wallet.
- To send XTZ, navigate to the "Send" section, enter the recipient's address, specify the amount, and review the transaction details before confirming it.
How to create a Kukai wallet?
Step 1: Accessing the Kukai Wallet Website
- Open your web browser and navigate to the official Kukai wallet website. You can find it at https://kukai.app/.

Step 2: Starting the Wallet Creation Process
- Once you're on the Kukai wallet website, locate and click on the "Create Wallet" button. This will initiate the wallet creation process.
Step 3: Wallet Setup
- On the wallet setup page, you will be presented with three options: "Create New Wallet," "Restore Wallet," or "Ledger Nano S."
- For the purpose of this tutorial, we will focus on creating a new wallet. Click on the "Create New Wallet" button to proceed.
Step 4: Wallet Generation
- In this step, you will be asked to generate a new wallet. Click on the "Generate a new wallet" button to proceed.
- Kukai will generate a new wallet for you, including a 15-word mnemonic phrase. Make sure to store this phrase in a secure location. It acts as a backup and can be used to restore your wallet if needed.
Step 5: Confirming the Mnemonic Phrase
- Kukai will present you with the 15-word mnemonic phrase. Ensure that you have correctly noted it down. The order of the words is essential.
- Once you have double-checked your mnemonic phrase, click on the checkboxes next to each word in the correct order to confirm it.
Step 6: Wallet Encryption
- In this step, you will be prompted to set a strong password for your wallet. Enter a password that is unique and not easily guessable.
- Make sure to choose a password that you can remember, as it will be required to access your wallet in the future.
Step 7: Accessing Your Wallet
- After setting up your password, Kukai will redirect you to the wallet access page.
- Enter your password and click on the "Unlock" button to access your newly created Kukai wallet.
Step 8: Exploring Your Wallet
- Congratulations! You have successfully created a Kukai wallet. You will now be able to see your wallet dashboard, which displays your account address, balance, transaction history, and other relevant information.
- Take some time to explore the wallet interface and familiarize yourself with its features, such as sending and receiving transactions.
And that's it, you now have successfully created your Tezos wallet!
You can now get through our blog post to help you buy and sell Stables NFTs.
Related posts
Discover our other articles

Tezos: How do I stake XTZ on a Ledger?

A look back at the inaugural race in figures

NFTs out of fashion? Stables defies the odds!
Don't miss any news from Stables anymore
Want to find out more about the world of Stables? You've come to the right place.